My younger son was confirmed in April. He was not raised in the Christian faith and had hardly been to church in his life. But he was curious about Christianity and decided that he wanted to be confirmed in church, and we supported him in that decision.
Confirmations in Iceland are often a bigger social and cultural event than in many other countries. While the religious ceremony may be similar to confirmations elsewhere, in Iceland it is usually treated as a major coming-of-age milestone. Families often celebrate with large gatherings, special outfits, and meaningful gifts. Another distinctive feature is the popularity of civil confirmation, a non-religious alternative that focuses on responsibility and adulthood. Overall, Icelandic confirmations are not just religious ceremonies, but important family celebrations as well.
We threw him a big party after the ceremony and the color theme for his party was navy blue. He chose a navy blue shirt and jacket for the occasion, and as a family we decided to coordinate a little. My fiancé got a navy blue suit, my older son wore a navy blue shirt, my daughter got a navy blue dress (which she then decided not to wear), and I chose a black jumpsuit.
I had to get something navy blue as well so I could match the theme we had decided on. And it occurred to me to crochet something I could wear with the jumpsuit. After looking at many many patterns I chose to make the Easy Crochet Bolero Shrug by Cherilyn Q on YouTube. It is a simple and stylish piece that turned out beautifully.
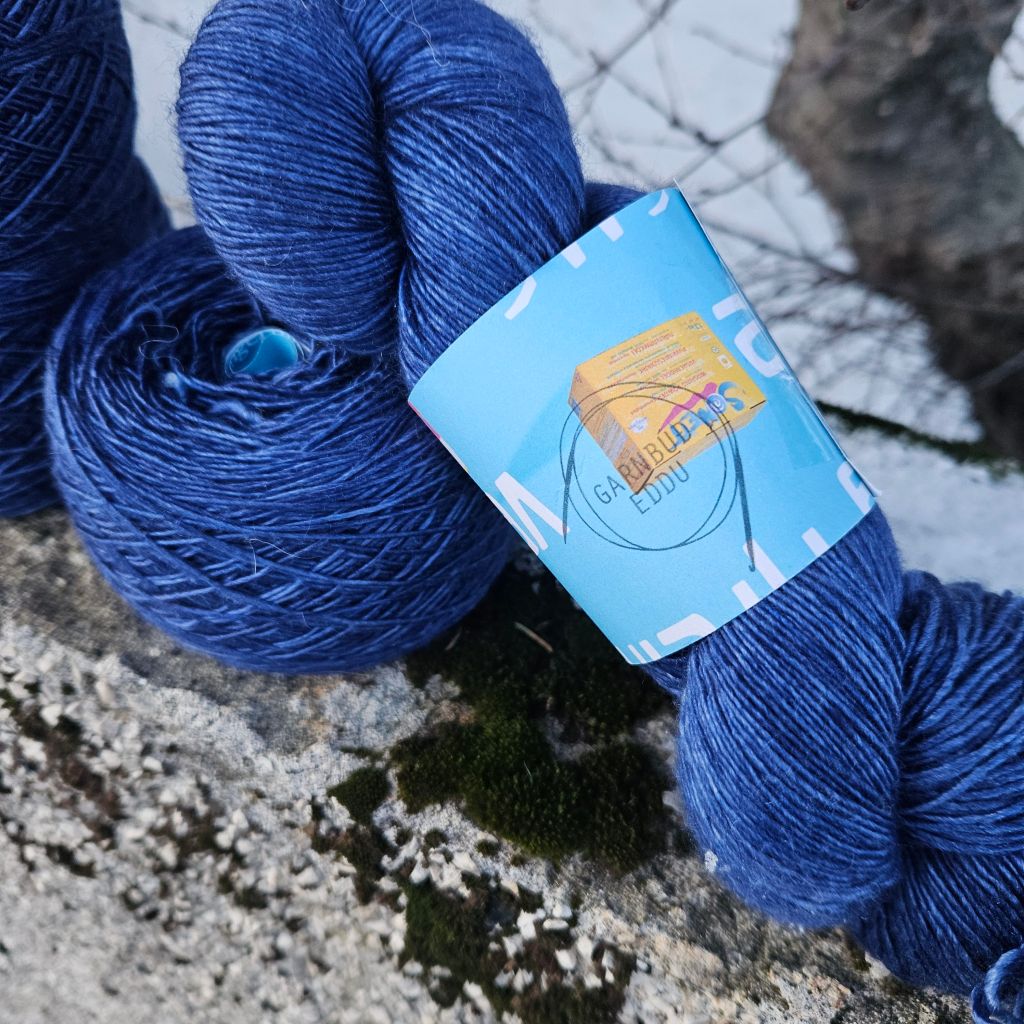
I happened to have the most gorgeous hand dyed navy blue yarn in my stash that I had bought from Garnbúð Eddu (e. Edda’s Yarnstore). It is a blend of merino and silk. So soft. So beautiful. It was not just a coincidence that I had this lovely navy blue yarn, though—I had originally bought it for another garment that did not work out.
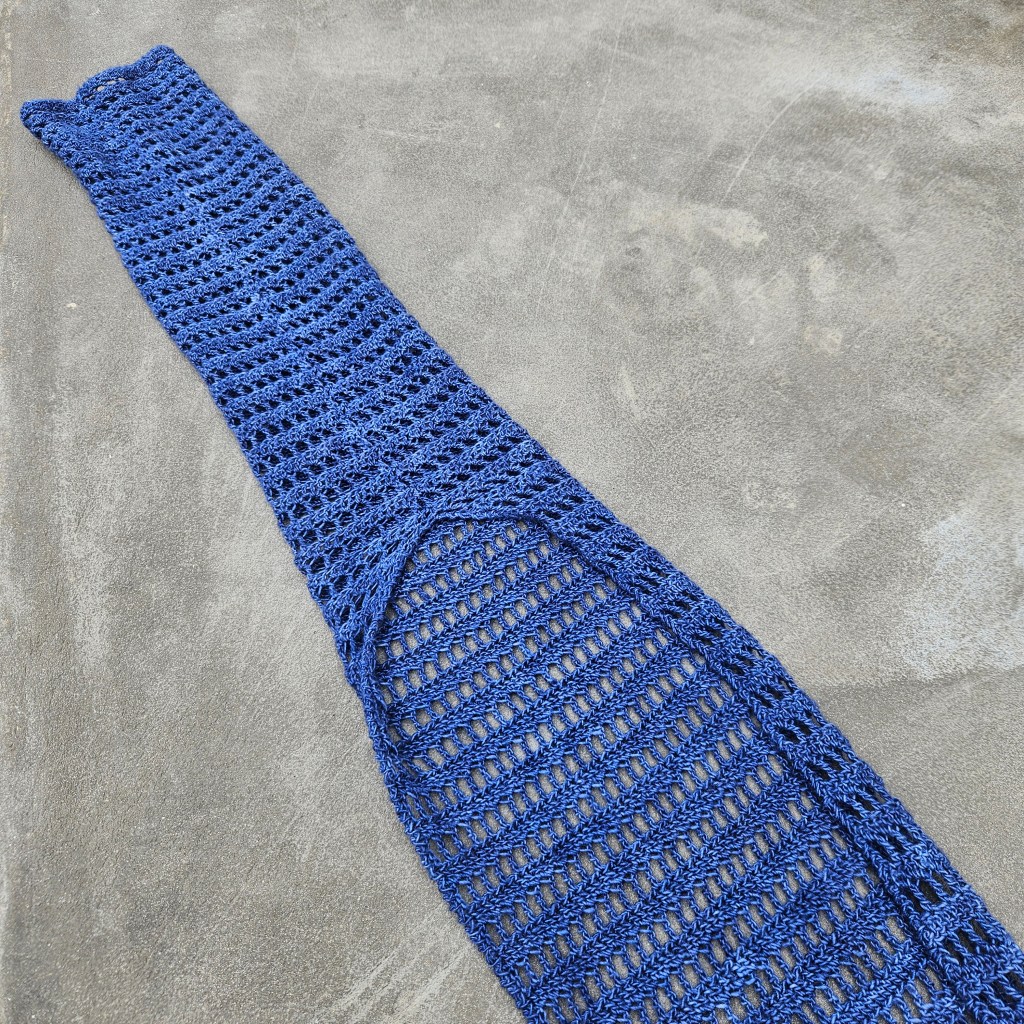
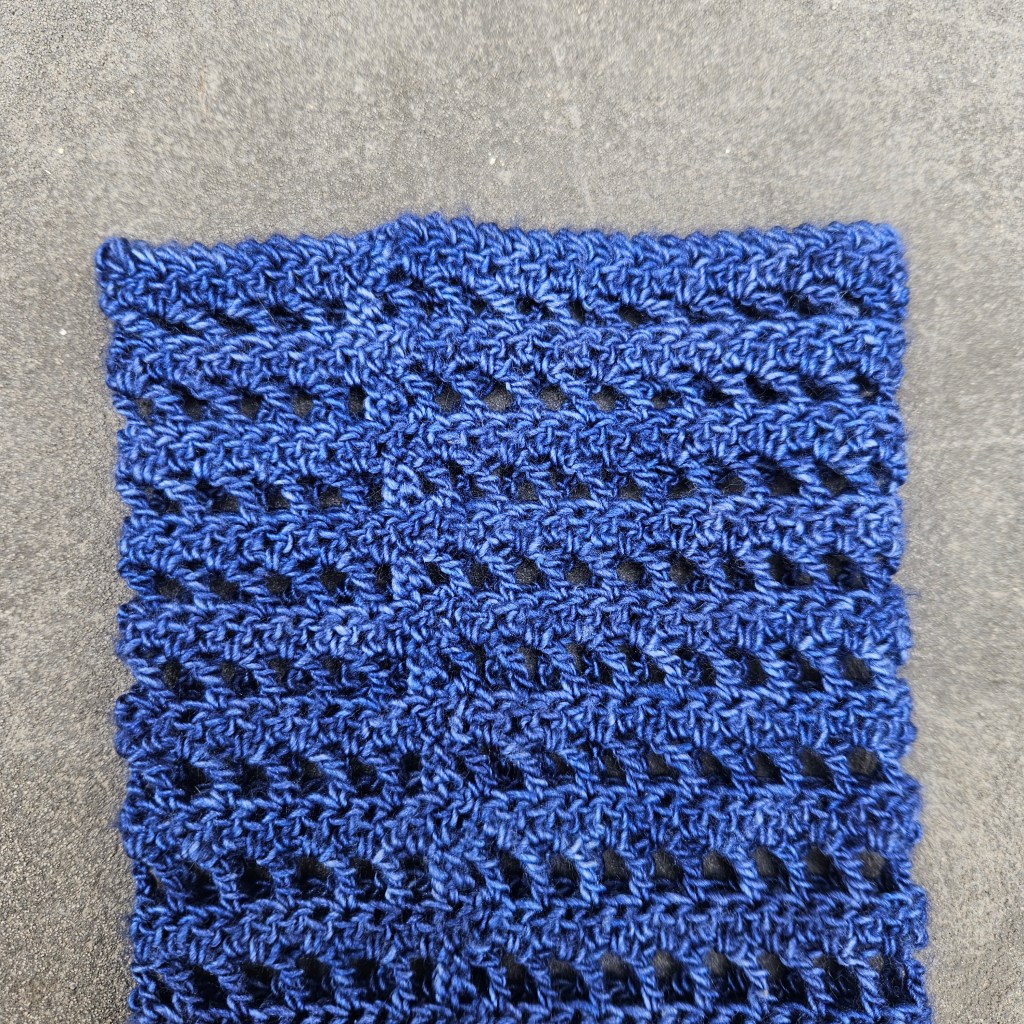
I crocheted my sleeves a little differently from the pattern instructions. According to the pattern, you begin at one end (obviously) and crochet a long rectangle that is sewn together at the end to form the sleeves. I do not enjoy sewing pieces together afterwards—especially when it can be done as you go. I also wanted to be able to decrease the sleeves so they would not be as wide as in the original pattern.
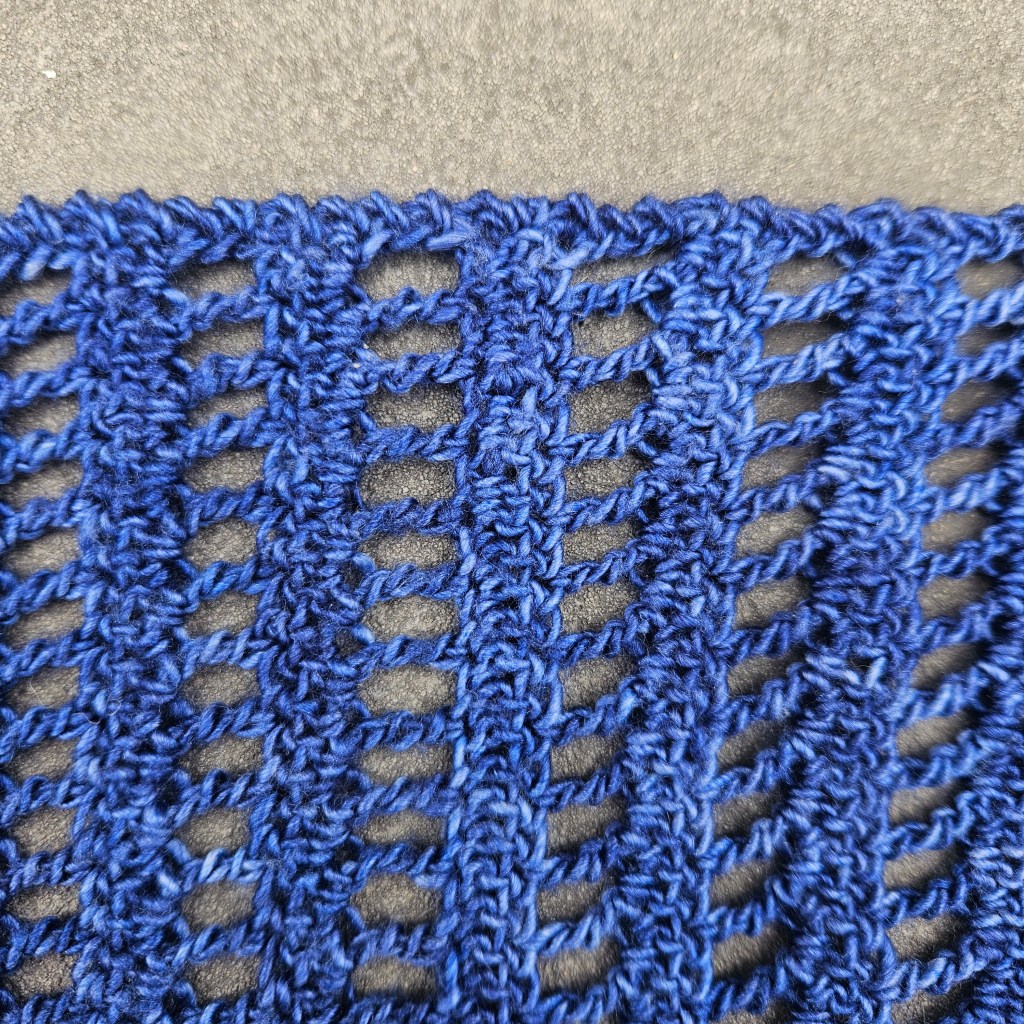
So I started crocheting as the pattern instructed, beginning at one end, but I also worked into the starting chains on the opposite side so I could crochet in the other direction on the same piece. That made the first row of double crochet stitches the center of the garment.
Once I had crocheted a long enough section for the back and it was time to make the sleeves, I ended each row by joining in a round before turning. Even though I was crocheting in the round, I did not work in the same direction the whole time, because I wanted to keep the texture of the crochet fabric consistent, alternating right side and wrong side rows.
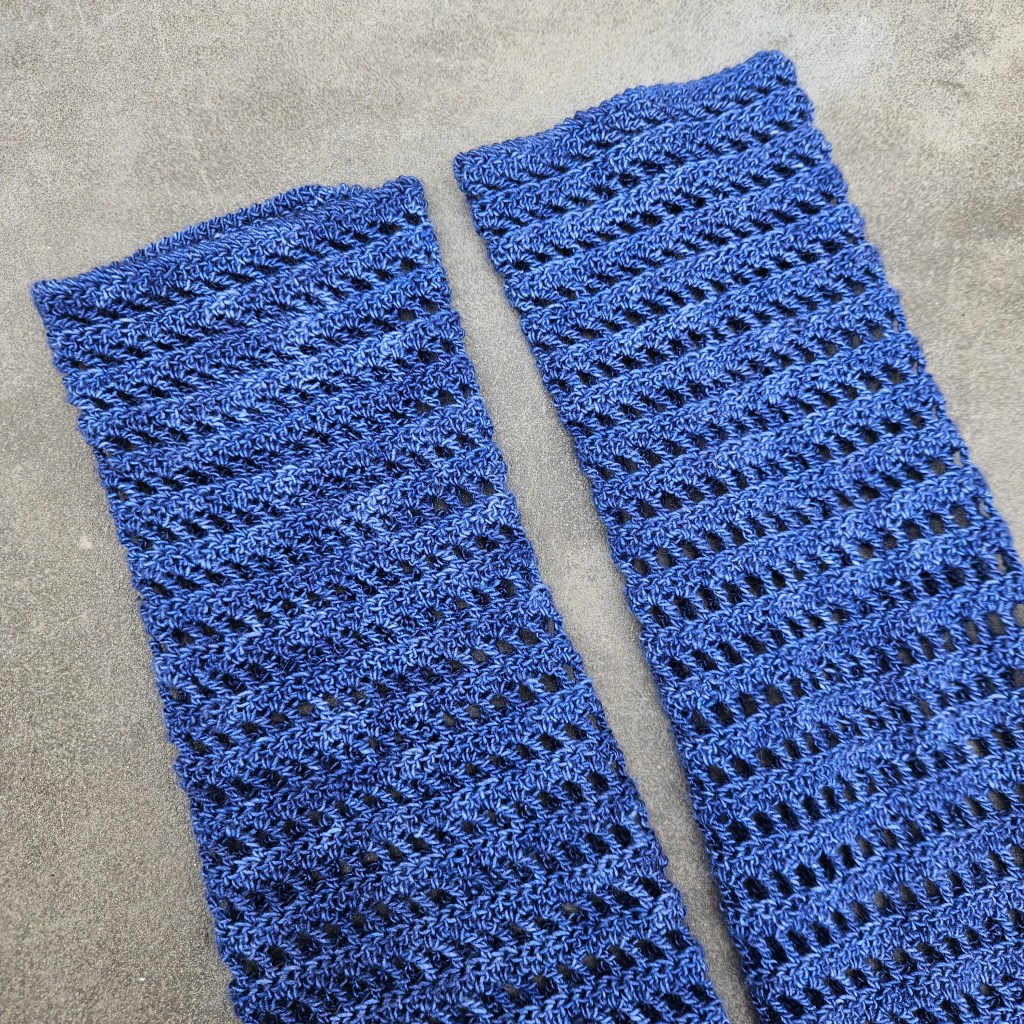
It might have looked neater to sew the piece together because the join is fairly visible—but it is on the inside of the arm, so it cannot really be seen anyway. Unless I am constantly walking around with my hands in the air.
I finished by adding a twisted single crochet edging to the sleeves and around the back opening.
Because I crocheted the piece this way, I was able to try it on regularly to see how long I wanted the sleeves to be and when I wanted to make decreases so the sleeves would not be as wide as in the original pattern.

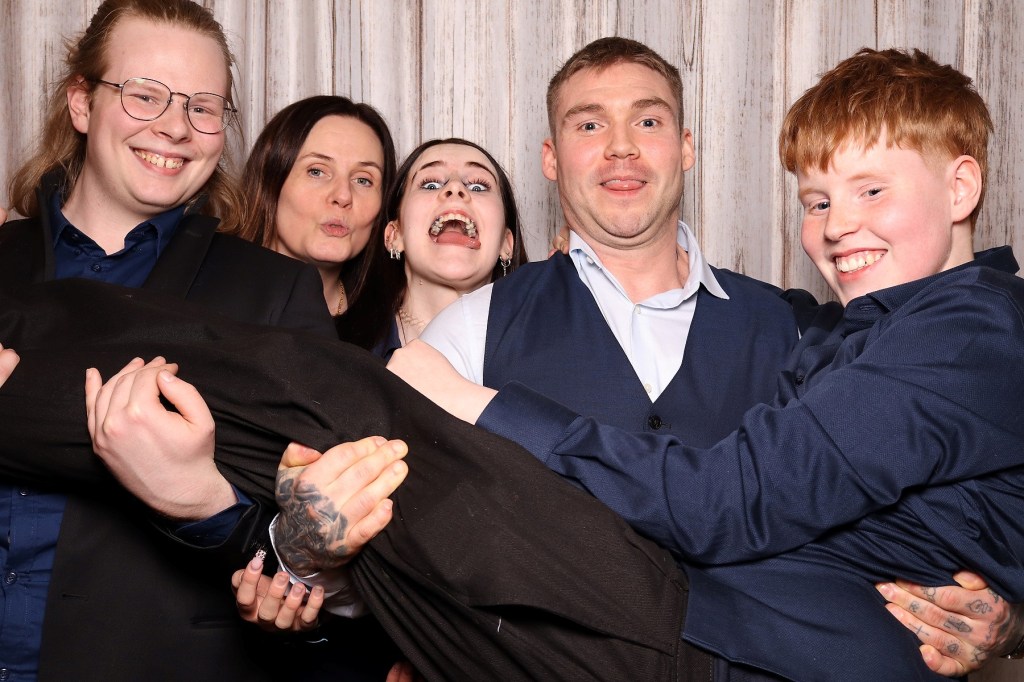
I completely forgot to take any fancy photos of myself wearing the sleeves once they were finished. At the confirmation party there was a photo booth guestbook with props, and the only photos I have of myself wearing them are from that photo booth. At least those photos show that they were very comfortable to wear.
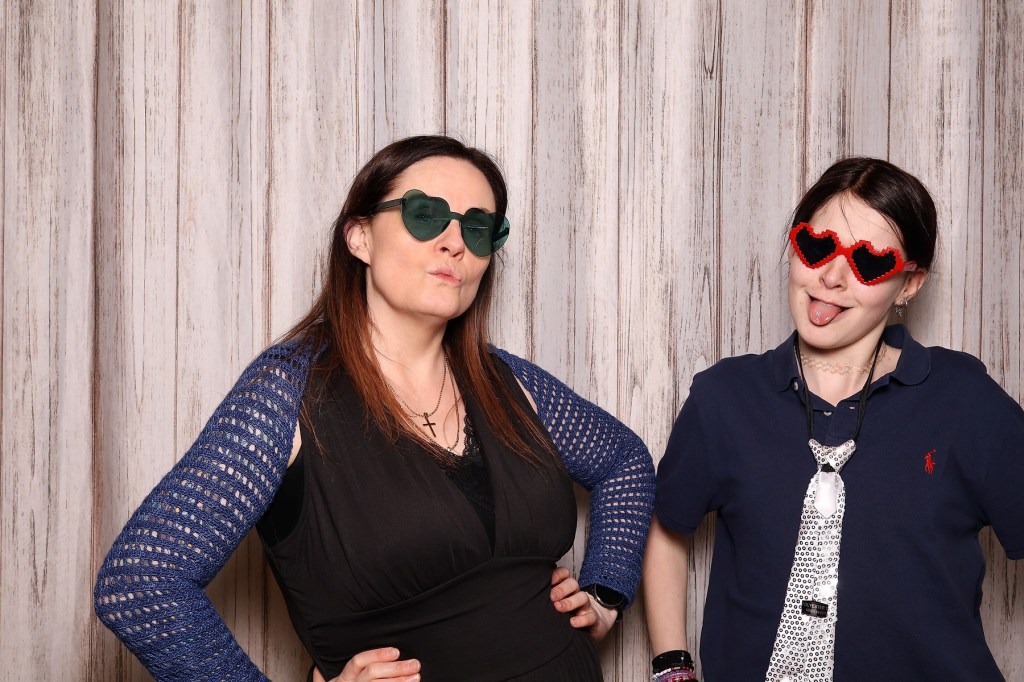

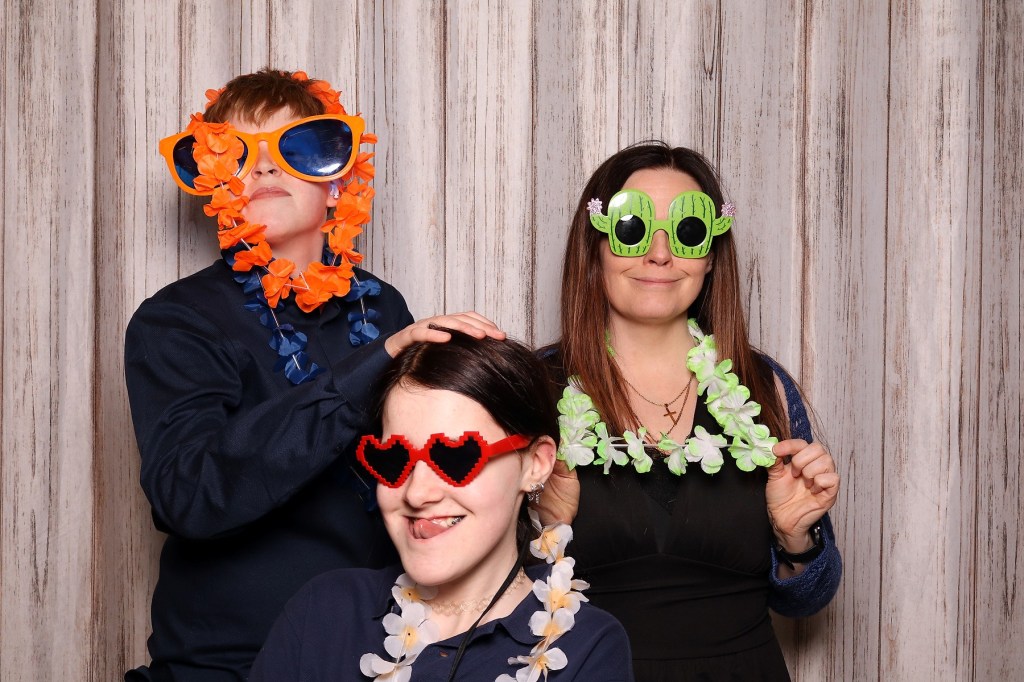
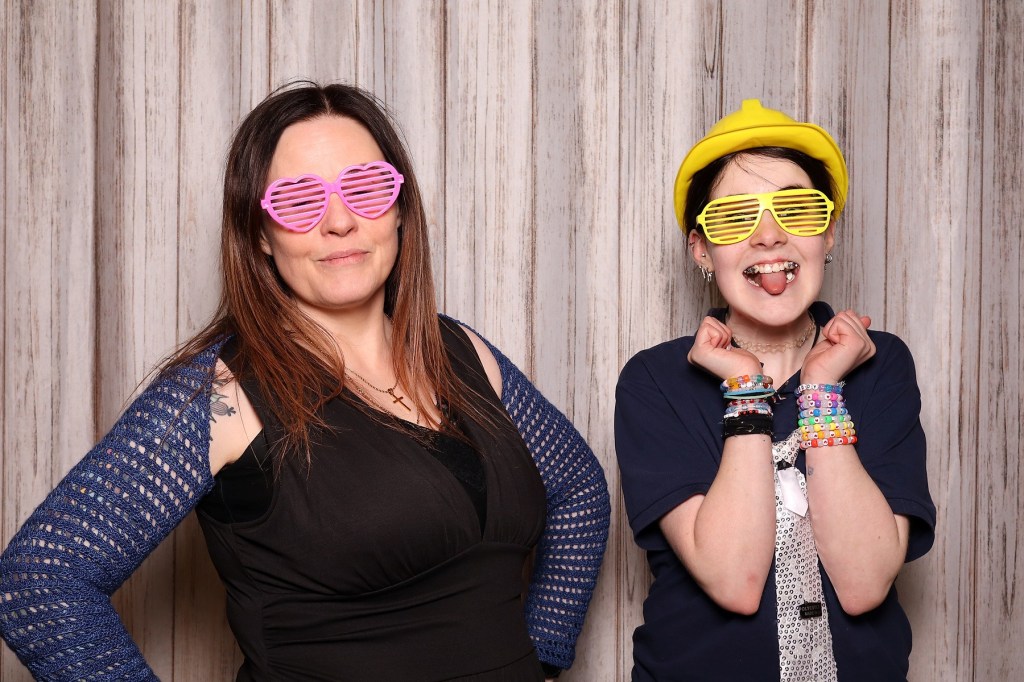
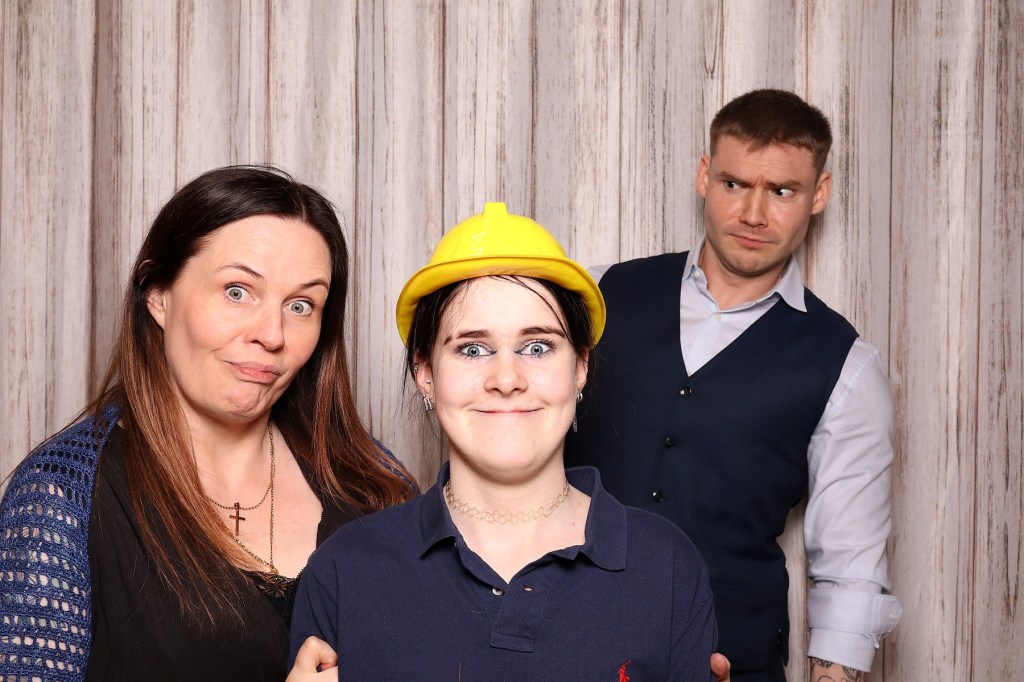
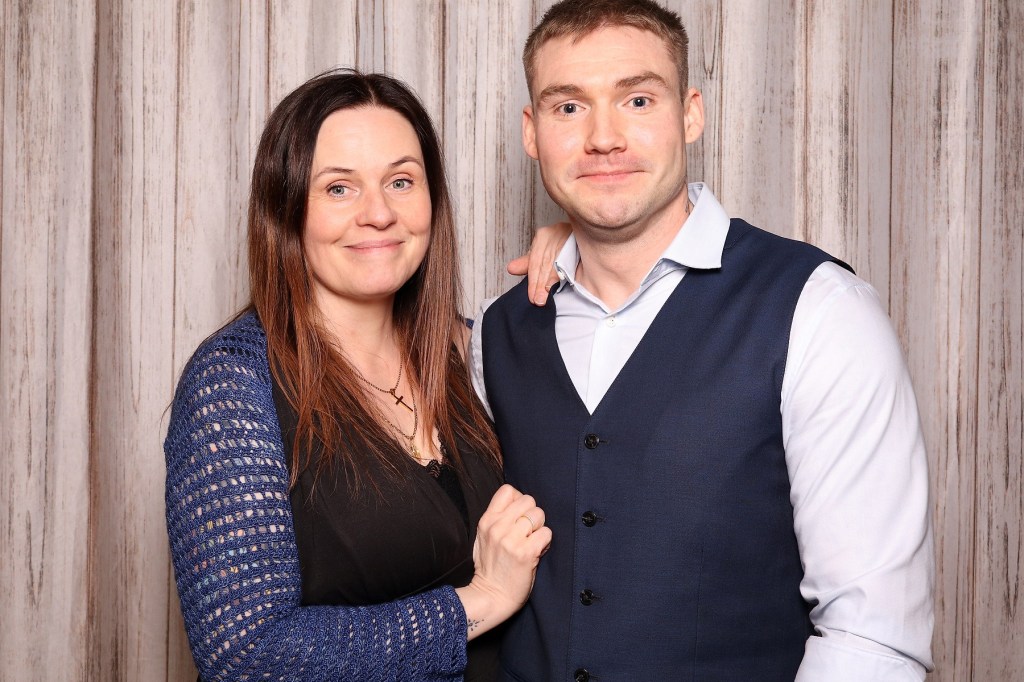
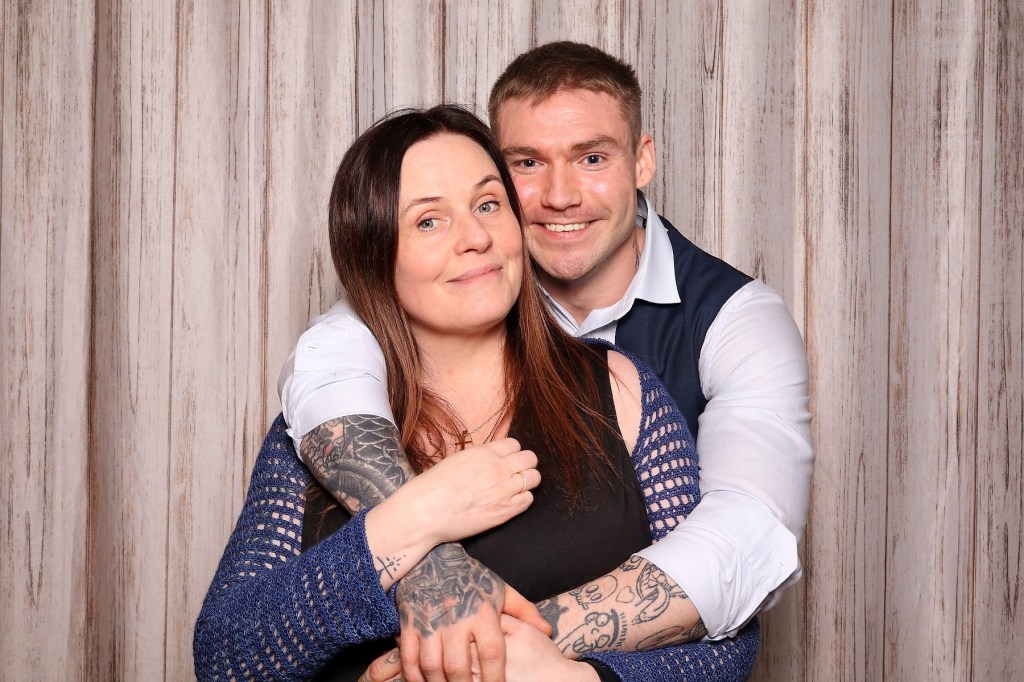
The photos of me and the fiancé are kinda fancy though aren’t they ❤️
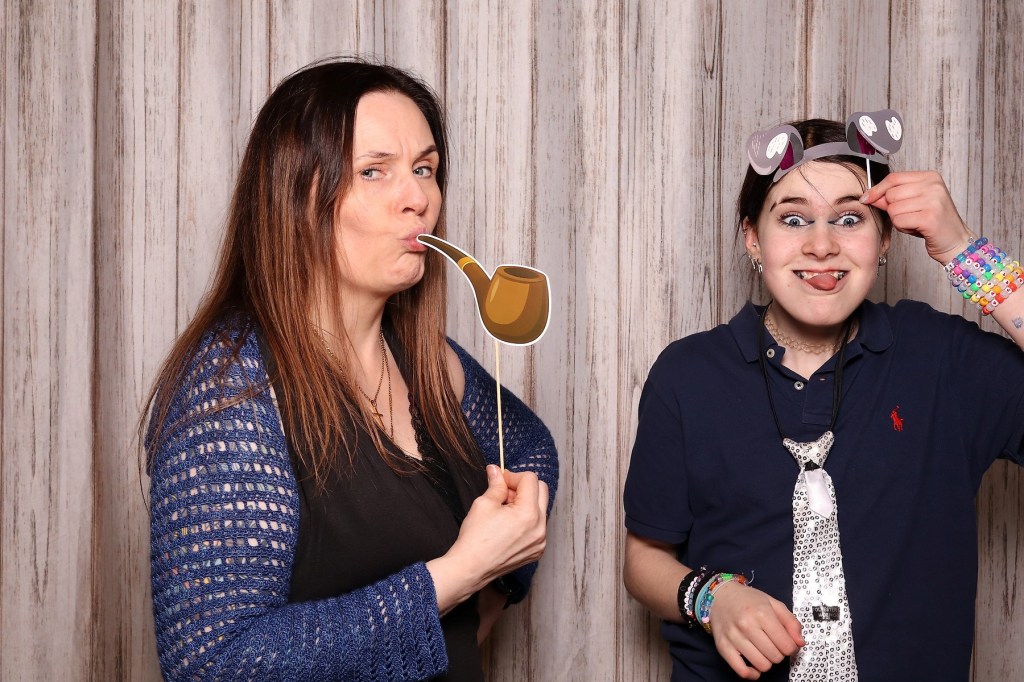
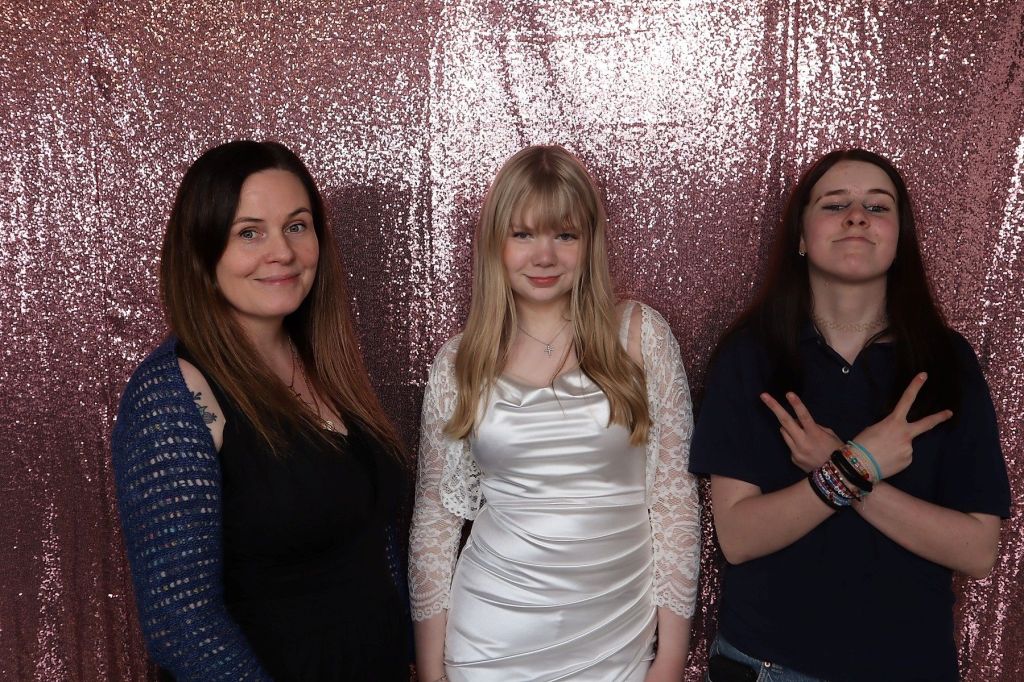
There was also a photobooth at my nieces confirmation party. So here are more photos of me.


Until next time
Elín


Leave a comment