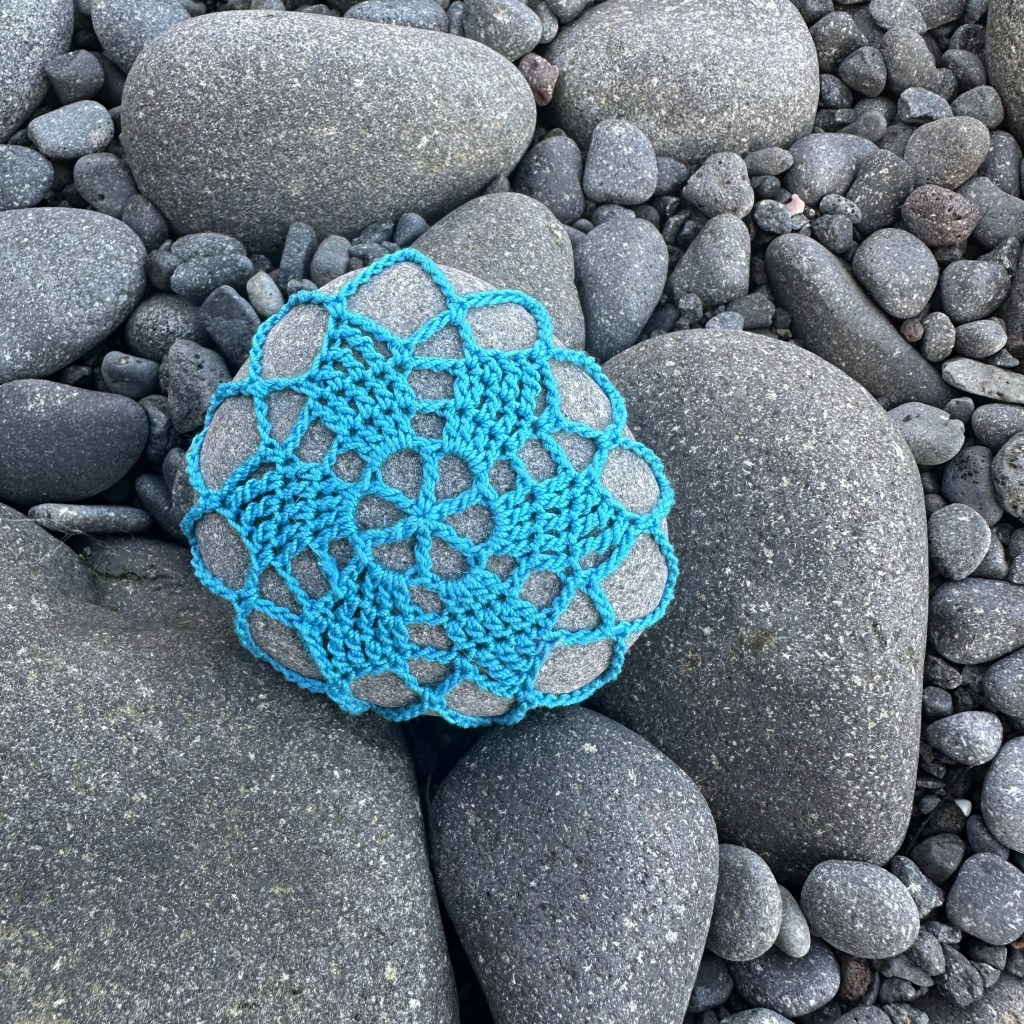
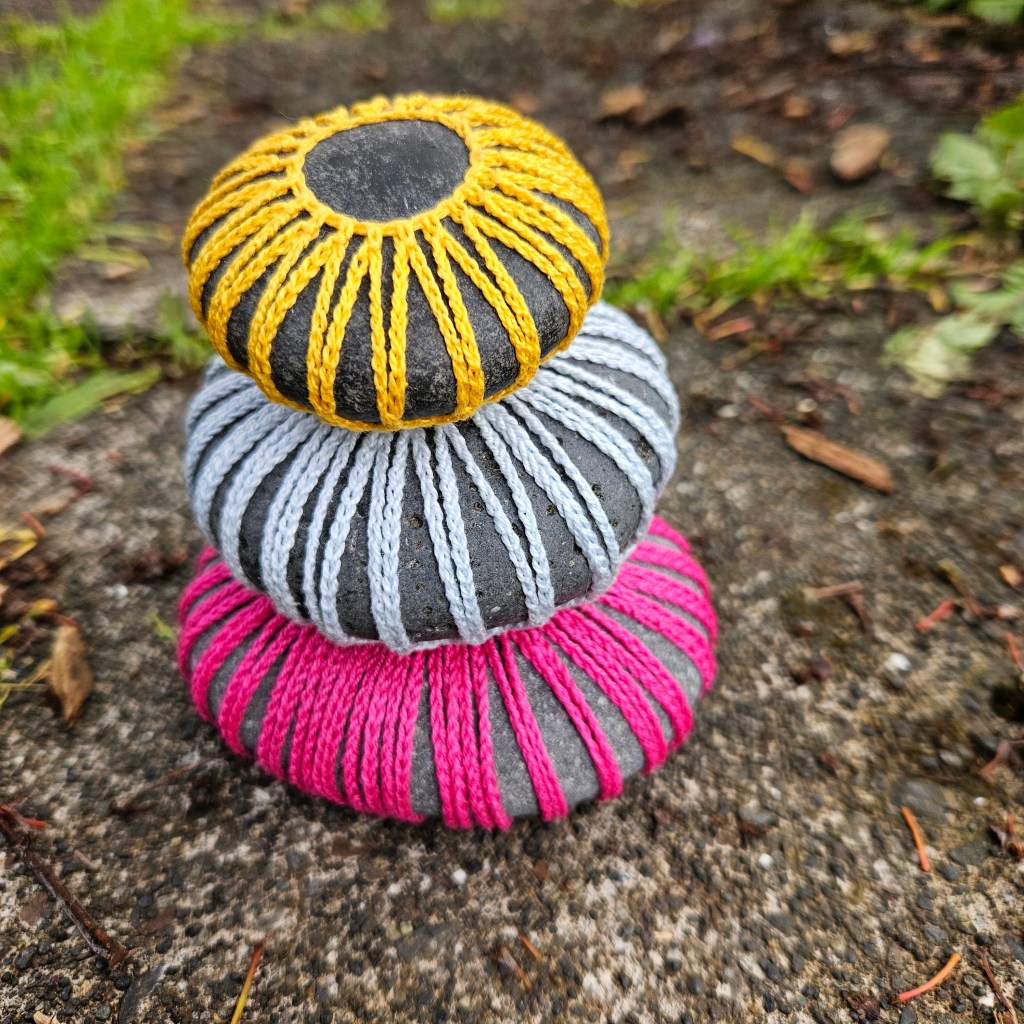
OMG my first pattern on the blog! I’m very excited about this. I’m totally obsessed with crocheting around stones. I have LOADS of them at home in my living room cause I just like looking at them cause they are pretty. I sometimes give them as gifts. I’ve left a few at graves of loved ones instead of flowers. I’ve also used them to yarn bomb. I’ve left stones in random places in Iceland, in Berlin and in Edinburgh.
You can buy this pattern as a printable pdf file on Etsy and Ravelry.
The pattern is adjustable. I like patterns that are adjustable. And a pattern like this really needs to be adjustable, cause it’s not guaranteed that you will find a stone that is in the exactly same size as the stone I have.
Why Clothed not Covered?
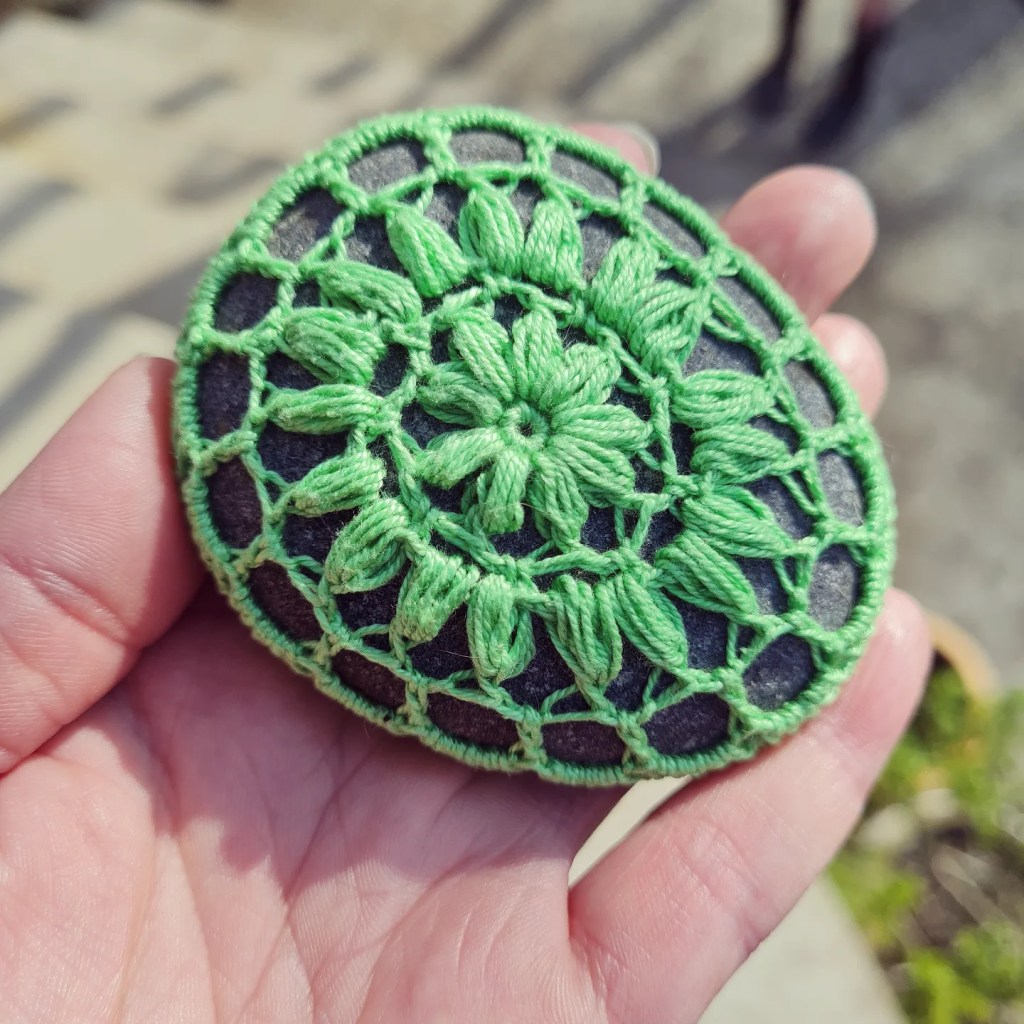
I was crocheting around stones when my little nephew, Úlfur (icelandic for Wolf), came to visit. He was very interested in what I was doing and asked, “Why are the stones wearing clothes”. I found this so funny that I decided to call my stones ‘Crochet Clothed Stones’ rather than ‘Crochet Covered Stones’.
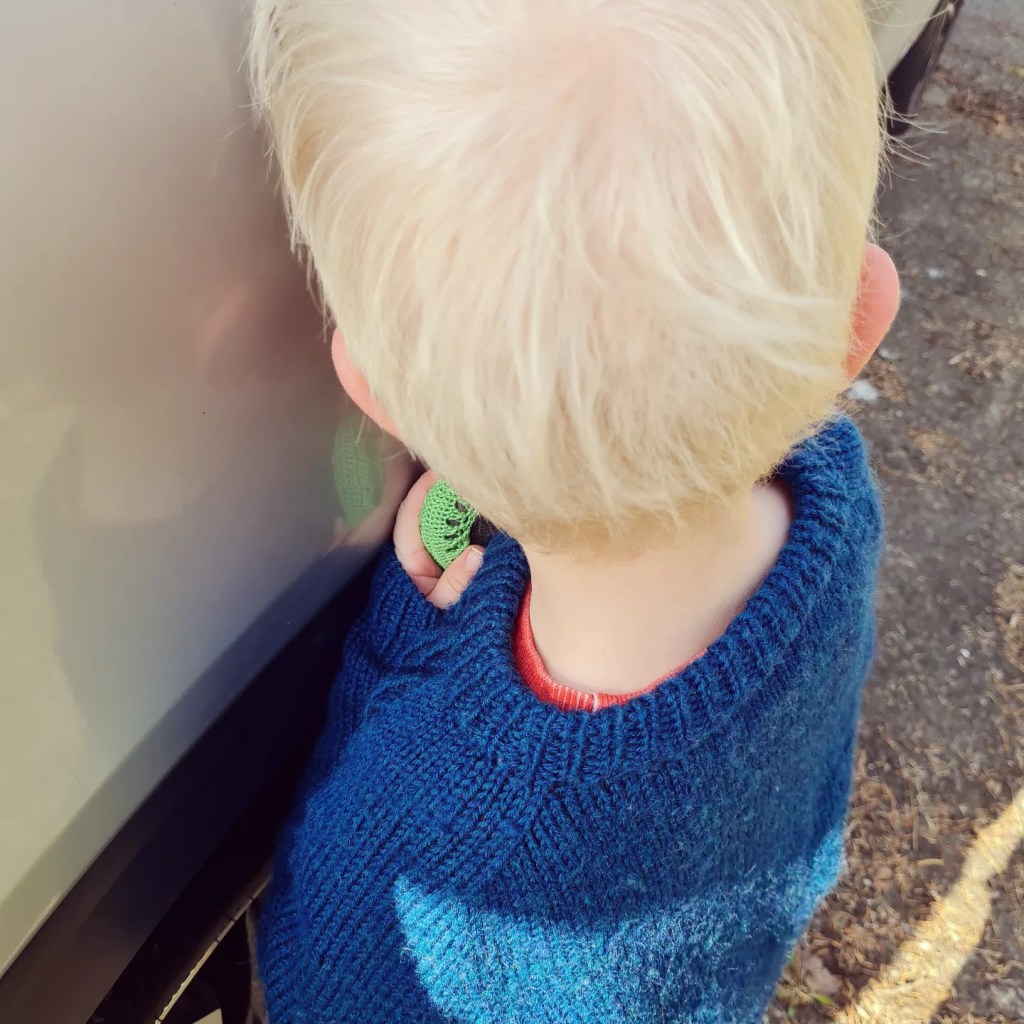
Úlfur was so interested in my stones that I let him choose a color and made him a small stone before he went home. He was very happy with his stone and still has it in his room. I wanted to take a photo of him all happy with his stone. But he was not happy with that.
Materials:
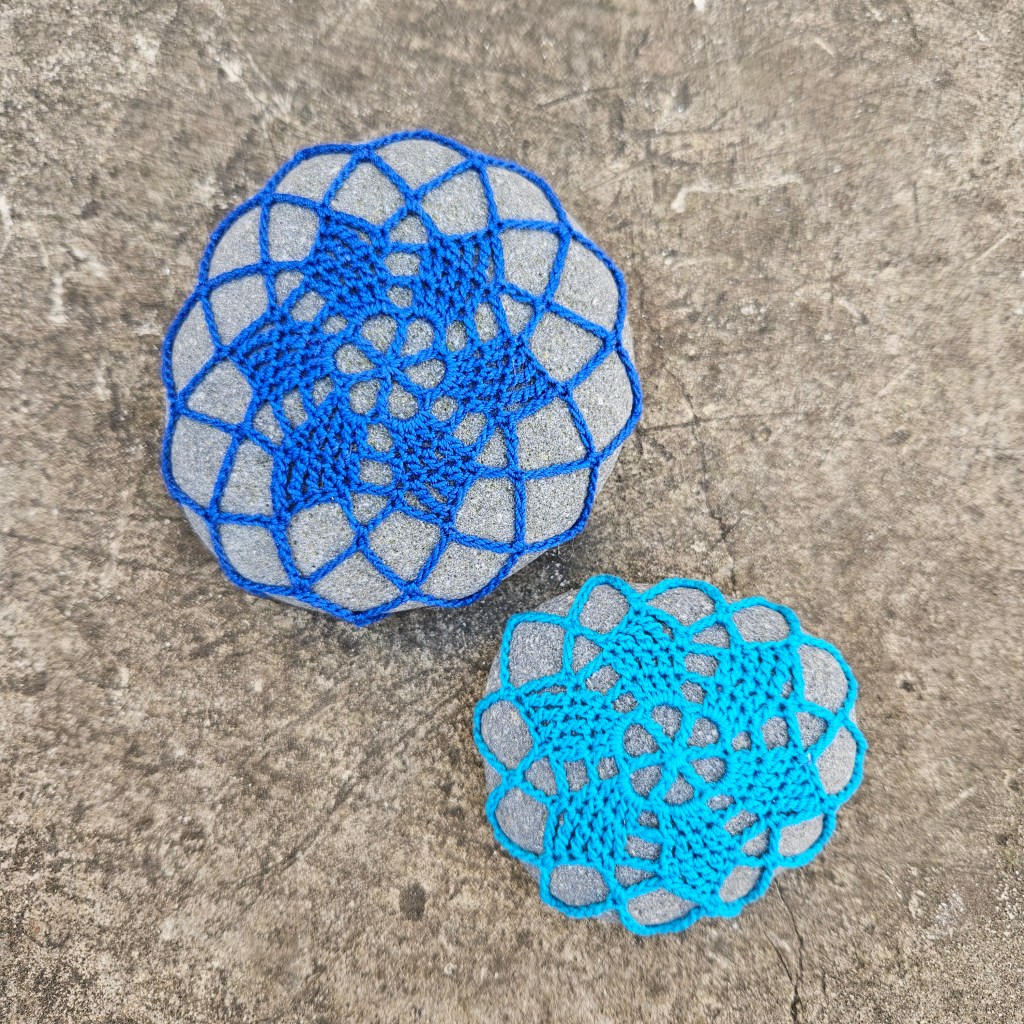
Yarn: Crochet thread size 10. I didn’t weight how much I used, but it’s just a few grams. I used Scheepjes Maxi Sugar Rush (50g, 280m) – color 146 Vivid Blue & color 215 Royal Blue.
Crochet hook: 1,75 mm
Gauge: Since no stones are the same, gauge doesn’t matter so much when crocheting around stones. I provide the crochet hook and yarn I use, as well as a simple measurement of the stone I used, so it can serve as a reference.
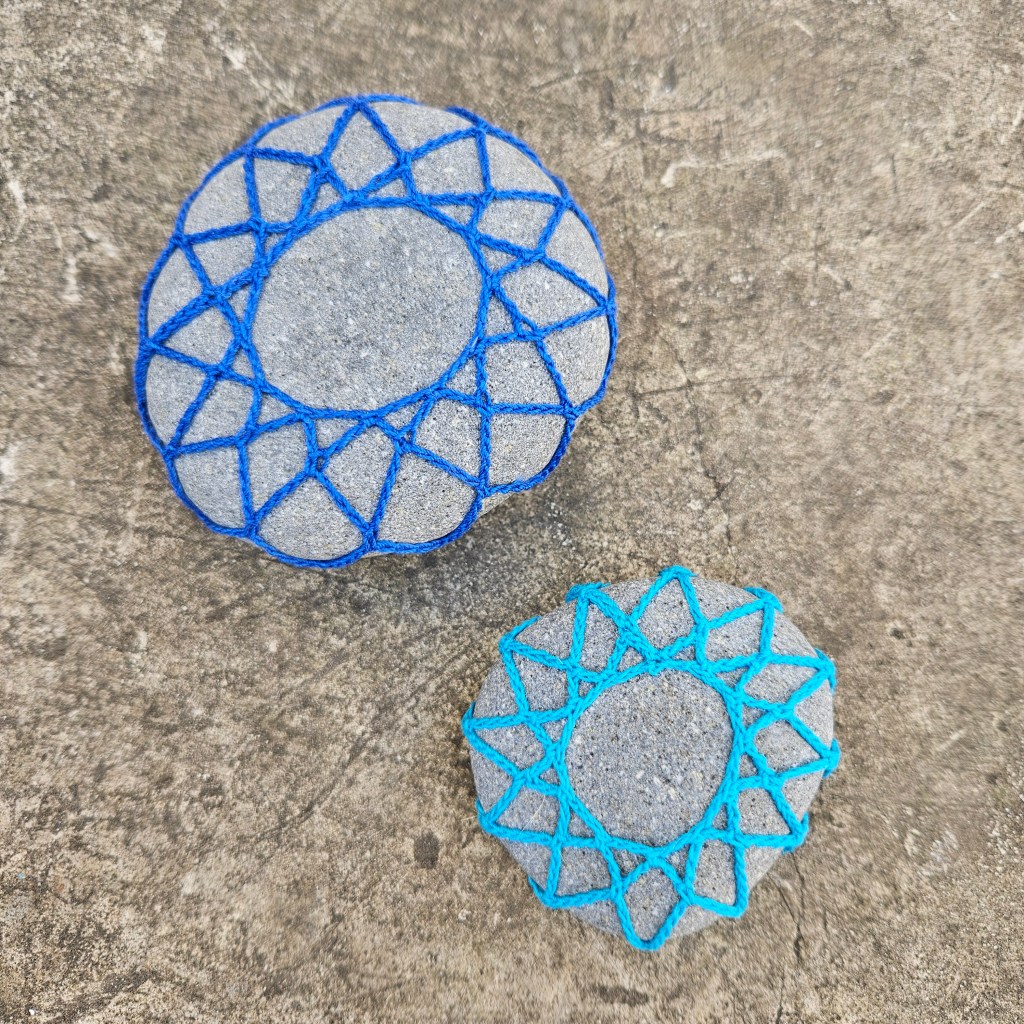
Size: Adjustable. The smaller stone in the photos is 8,5cm x 7cm, the larger stone is 11cm x 10cm. I measure the stone where it is the longest and then the widest.
I use meters and grams as a unit of measurements. I don’t have any sense for other ways to measure, and because of that I don’t feel confident in converting my measurements to inches or ounces or anything else. Hope you don’t mind having to do that yourself.
Pattern adjustments:
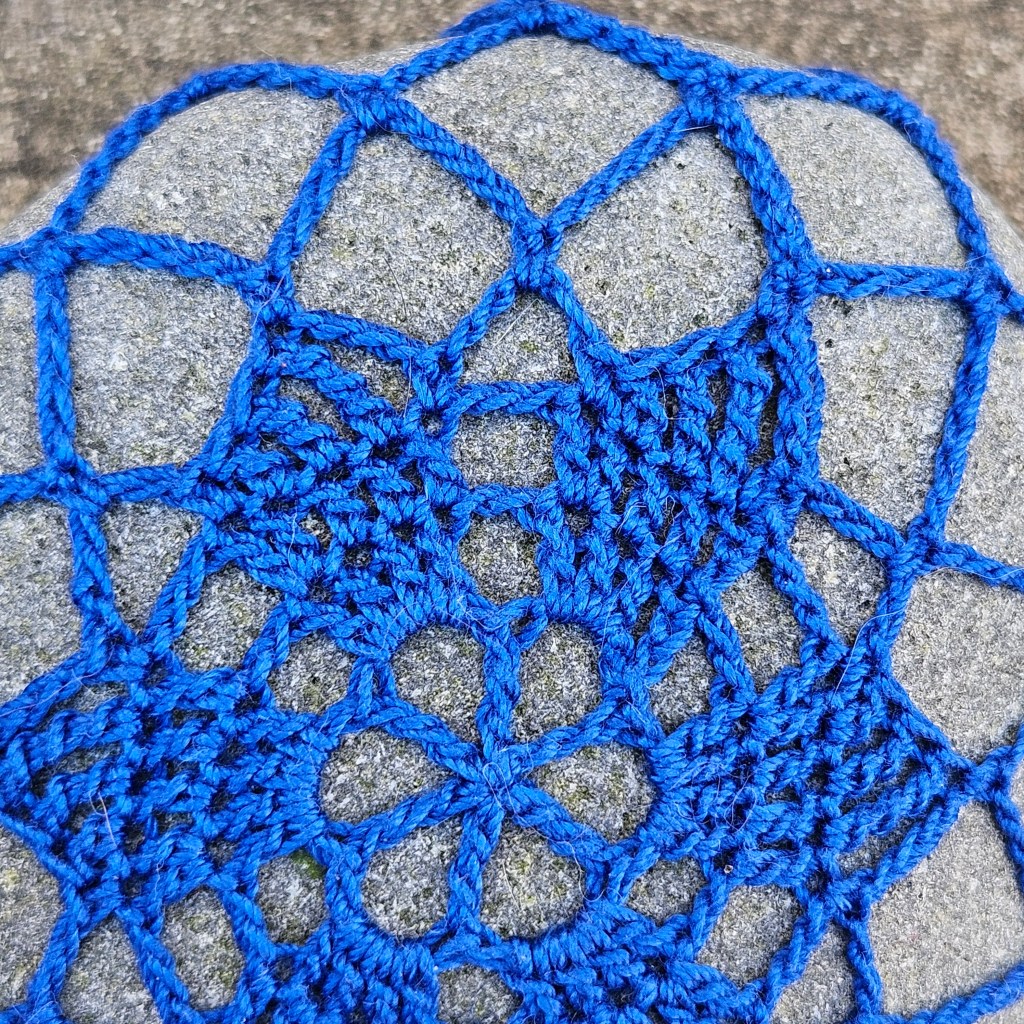
Since no stone is exactly the same size, you may need to adjust the pattern to fit your particular stone. This is done at the very end, when you’re closing the piece around the stone. The pattern might say to crochet 1 single crochet (sc) and chain 3 stitches (ch), but that may be too tight for the stone you’re working with. In that case, you can change it to 1 sc and ch 4 or even ch 5. Or the opposite might happen, the piece is to loose for the stone — you can change it to 1 sc and ch 2, or even just ch 1.
You can also do more or fewer rounds of single crochet and chain stitches than the pattern suggests. You will understand this better when you get to the end of the pattern.
Crochet abbreviations US:
st – stitch, ch – chain, ch-sp – chain space, sl st – slip stitch, sc – single crochet, dc – double crochet, tr – treble crochet, dtr – double treble crochet
The pattern:
The pattern is written for the smaller stone. With additional information on how to make it larger.
Make a magic loop.
Rnd 1: Ch 7 (counts as 1st tr + ch-3), *1 tr in loop, ch 3*, repeat from * to * 4 more times, join with sl st in 4th ch of beg-7.
Rnd 2: Sl st in next ch-sp, ch 3 (counts as 1st dc), 3 dc in same ch-sp, ch 2, *4 dc in next ch-sp, ch 2*, repeat from * to * 4 more times, join with sl st in 3rd ch of beg-3.
Rnd 3: Ch 3 (counts as 1st dc), 1 dc in next 2 st, 2 dc in next st, ch 3, skip ch-2-sp, *1 dc in next 3 st, 2 dc in next st, ch 3, skip ch-2-sp*, repeat from * to * 4 more times, join with sl st in 3rd ch of beg-3.
Rnd 4: Ch 1 (does not count), 1 sc in first st, ch 4, 1 dtr in next st, 1 tr in next st, 1 dc in next st, 1 sc in next st, ch 5, skip ch-3-sp, *1 sc in next st, ch 4, 1 dtr in next st, 1 tr in next st, 1 dc in next st, 1 sc in next st, ch 5, skip ch-3-sp*, repeat from * to * 4 more times, join with sl st in 1st sc of rnd.
Rnd 5: Sl st in next 4 st, ch 1 (does not count), 1 sc in top of dtr from prev rnd, ch 10, 1 sc in next ch-5-sp, ch 10, *1 sc in top of next dtr, ch 10, 1 sc in next ch-5-sp, ch 10*, repeat from * to * 4 more times, join with sl st in 1st sc of rnd.
Rnd 6: Sl st in next 5 st, ch 1 (does not count), 1 sc in ch-sp, ch 10, *1 sc in next ch-sp, ch 10* repeat from * to * 10 more times, join with sl st in 1st sc of rnd.
You might have to place the stone inside the crochet cover before you finish rnd 7.
I recommend weaving in the end from the beginning before you place the stone in. It’s much easier than doing it after you finish your stone.
Rnd 7: Sl st in next 5 st, ch 1 (does not count), 1 sc in ch-sp, ch 5, *1 sc in next ch-sp, ch 5* repeat from * to * 10 more times, join with sl st in 1st sc of rnd.
Rnd 8: Sl st in next 3 st, ch 1 (does not count), 1 sc in ch-sp, ch 3, *1 sc in next ch-sp, ch 3* repeat from * to * 10 more times, join with sl st in 1st sc of rnd.
Cut the thread and weave in the end.
Make it bigger:
To make the cover larger I simply did round 6 three times before doing rounds 7 and 8.
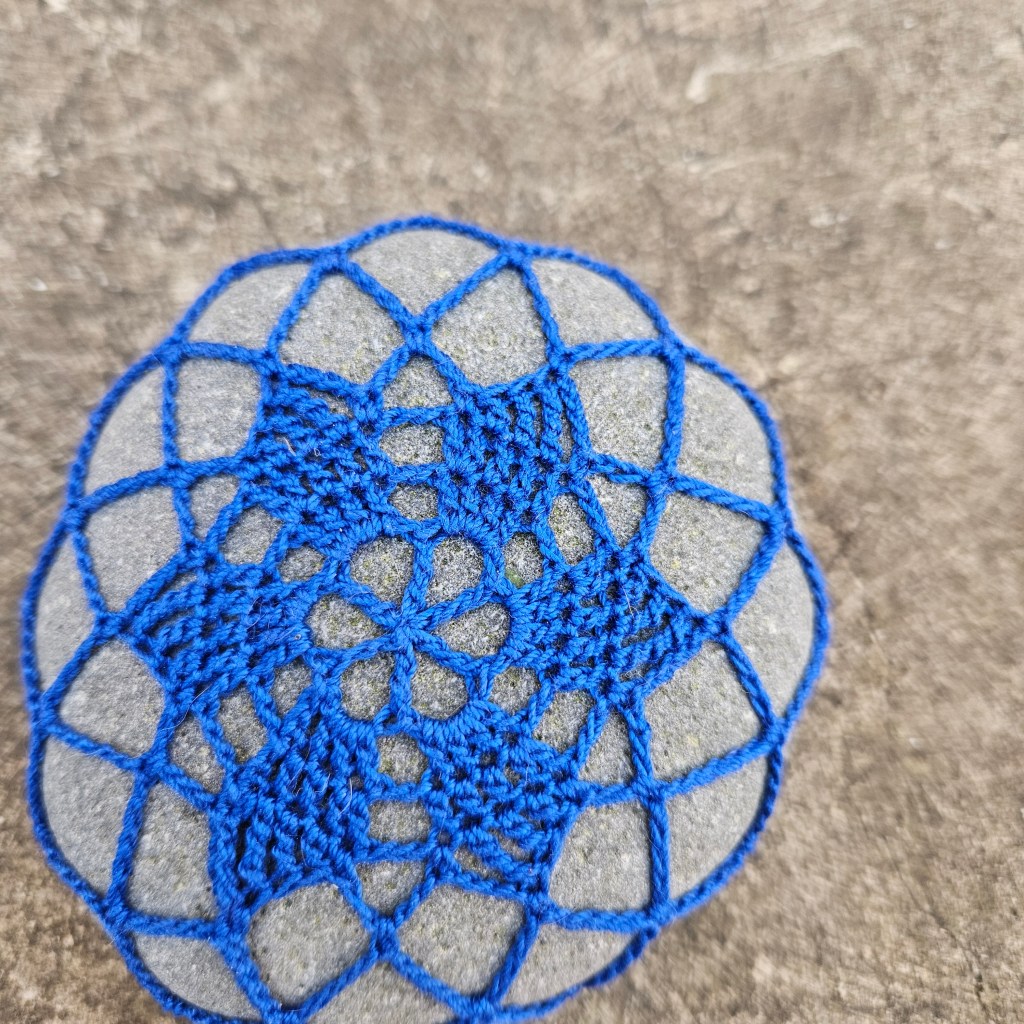
I was lucky with these two stones that I could finish them exactly according to pattern. I have done other stones with this pattern and then I have had to adjust the number of chains I make each round, adding more chains or making fewer chains.
For example, in round 6 I would make 8 chains instead of 10. Or if I’m repeating round 6, I would make 12 chains instead of 10. Or to make the piece tighter around the stone I might repeat round 8 but make only 1 chain instead of 3.
Before you go!
For pattern support please email me at fidgetyhandscrochet@gmail.com
Hope you enjoyed making your crochet clothed stone as much as I did! If you post a photo on Instagram please tag me @fidgetyhands and/or use the hashtag
#CrochetClothedStones & #FidgetyHandsCrochet – I love seeing what you make 😊
© FidgetyHandsCrochet 2024, Elín Guðrúnardóttir
Please respect my work and do not copy or redistribute this pattern.
Instead tell others where you found it.


 Fidgety Hands Crochet
Leave a comment